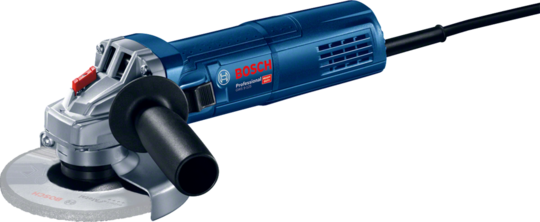
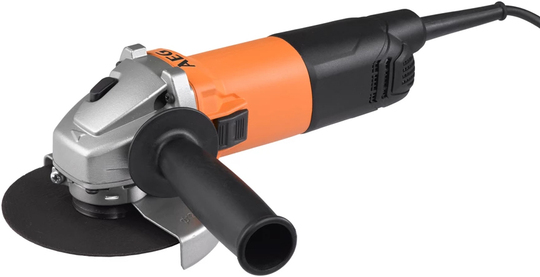
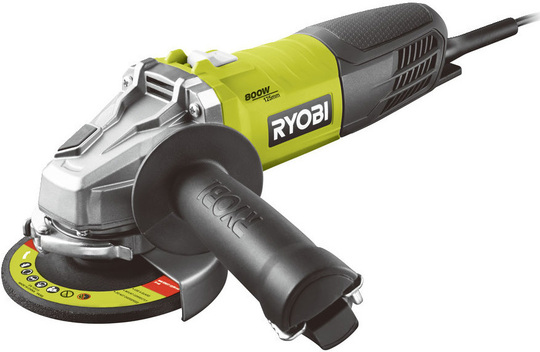
Without basic power tools, it is hard to imagine renovation of a house or apartment, complex construction works at the customer's site or the repair of a car or everyday appliances. Both corded power tools and cordless power tools are most often the basic equipment of a home workshop, a handy toolbox or a warehouse of a professional renovation and construction team.
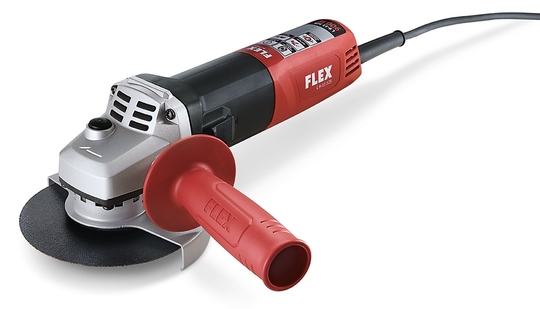
One of the most popular solutions is the well-known angle grinder. Thanks to the use of special discs, we can use them not only to cut but also grind and polish. Unfortunately, mounting the disc in an angle grinder can cause a lot of trouble for many novice DIY
enthusiasts. So how do you correctly and safely replace the disc on an angle grinder? Be sure to check out our guide and learn about the innovative Bosch solution, thanks to which the replacement of the working tool in the so-called "rubber" runs very smoothly.
TYPES OF DISCS FOR THE GRINDER
The grinder, due to its versatility, can be equipped with various types of grinding discs, fibre discs or flap discs. Each of them will work with a specific technique of surface treatment. Cutting discs usually have a thickness of 0.8 to 3.2 mm. They are used only for cutting, punching and notching various types of materials. They should not be used for grinding! Cutting discs can be divided according to their design. They will include flat models, with a blade with a continuous profile, segmented and so-called turbo discs.
The slightly thicker ones include grinding discs, which are 6 to 6.4 mm thick. These types of discs are characterized by a much greater surface strength because they have to withstand considerable loads directed at their forehead. The operation of grinding discs requires work at the right angle - usually from 20 to 30 degrees of an inclination concerning the plane of the processed material. Grinding wheels are most often divided according to the type of material for which they are adapted. Accordingly, we can separate stone, steel and metal discs.
Diamond discs are yet another type of disc fitted to angle grinders. Due to their enormous strength and abrasion resistance, this type of blade is perfect for cutting hard building materials, such as paving stones, blocks or bricks.
CHANGING THE DISC ON AN ANGLE GRINDER
Before proceeding to the disassembly and mounting of the new disc in the grinder, we must check if the purchased element meets the requirements specified by the equipment manufacturer. You need to check if the appropriate mounting diameter and whether it does not exceed the dimensions of the mounting capacity in the grinder. Smaller devices used for domestic needs, most often allow the installation of discs with a diameter not exceeding 125 mm. In turn, for larger angle grinders used in professional construction companies, we can attach discs with a diameter of up to 230 mm.
DISC ASSEMBLY - STEP BY STEP
Follow the manufacturer's instructions in the equipment manufacturer's instructions for efficient and safe mounting of the disc on the angle grinder. You can also follow the general assembly rules presented below, which, however, may slightly differ depending on the equipment you have.
MOUNTING A DISC USING A KEY
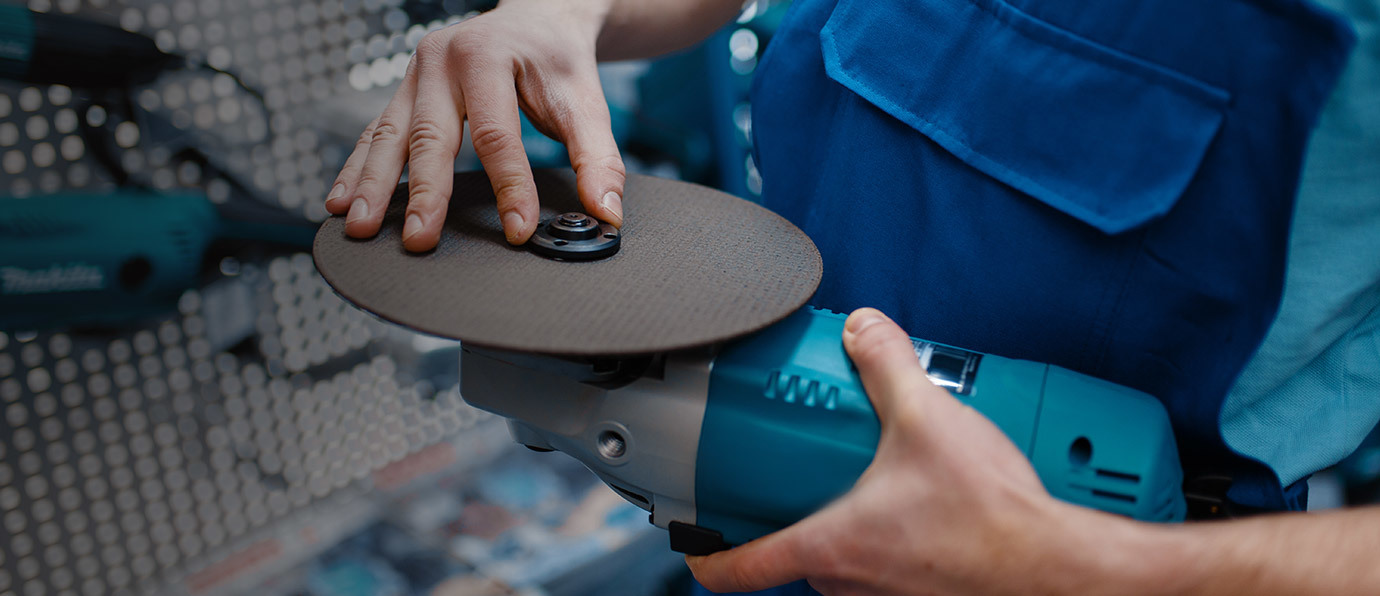
First, unscrew the clamping nut with a special double-pin wrench. It resembles a flat wrench, with the difference, however, that it has two small tabs at its end. The next step is to mount the cutting disc on the thread. At this point, it is very important to determine the direction of rotation of the blade, which should be in the direction of rotation of the power tool. Most often it is presented in the form of a pointing arrow, placed directly on the grinder head. The last step is to put on the fastening nut and tighten it with the already mentioned double-pin wrench. Finally, make sure that the disc can move freely and does not catch, for example, on the cover. We should also pay attention to whether the shield has no visible damage and whether it does not show the so-called 'beating' effect when turning, which may cause the disc to burst.
We must also mention a special button - the so-called spindle lock. If you press it, it blocks the spindle rotation, which significantly facilitates the disassembly and assembly of the disc.
TOOLLESS MOUNTING
This is a more convenient way to change the disc on the grinder. You do not need to use special keys here, and we can do everything without the need for any tools (hence the name: tool-free mounting). To do this, a special quick-release nut must be fitted and it must be remembered that it may only be used for cutting and grinding discs.
Replacing the disc and its assembly with a self-locking nut is slightly different than when using a double-pin wrench. First of all, make sure that the side of the quick-clamping nut with the printed inscription is facing outwards (not towards the device!). To unscrew the nut, grasp it firmly with your fingers and turn it counterclockwise (while holding the disc in place). To tighten the nut, perform the procedure in the opposite way to the one described. We put the disc on the spindle, then mount the quick-clamping nut and tighten it by turning the disc clockwise.
If for any reason it is impossible to unscrew the self-locking nut with your fingers, then you should reach for a suitable double-pin wrench and use it to loosen the nut. You must not use pliers for this purpose.
WHAT IS THE BOSCH X-LOCK SYSTEM?
Bosch has opted for a completely new, 2-piece accessory change system for angle grinders. X-Lock technology allows you to change the dial with just one click. It became possible thanks to a special "X" -shaped joint mounted on the head of the device. Bosch Professional offers several models of grinders equipped with the X-Lock system.
The main advantages of the X-Lock system include:
- no protruding nut;
- the ability to work with the grinder at a greater angle and without the risk of scratching;
- comfort and safety of disc replacement;
- secure fit (an audible click indicates that the disc has been properly secured);
- no need to use additional keys;
- up to 5 times faster disc replacement compared to traditional solutions.


